🎉 Our Office 365 Reporting Tool is now available in Azure Marketplace 🚀
This website uses cookies to improve your experience. We'll assume you're ok with this. Know more.

How to Audit Transport Rule Changes in Exchange Online

An unnoticed change in Exchange transport rules can result in significant email delivery disruptions. Issues like secret data redirection or emails from a VIP being blocked can harm your organization’s reputation. Therefore, every minor change to mail flow rules must be audited regularly. This guide will assist you in managing and monitoring Exchange Online transport rule changes to ensure smooth, secure, and efficient email communication.

Native Solution

Microsoft 365 Permission Required

High

Global Admin, Exchange Admin, or any other privileged admin role.

Option 1 Using Microsoft 365 Purview Portal

  • Login to the Microsoft 365 Purview portal and navigate to Solutions»Audit.
  • Customize the date and time range as per your requirements.
  • Enter the following operations in the Activities - operation names field as comma-seperated values.

    New-TransportRule, Set-TransportRule, Enable-TransportRule, Disable-TransportRule, Remove-TransportRule

  • Click on Search. After the search is completed, you will be able to view the Exchange transport rule changes that occurred within the specified time range.
Using Microsoft 365 Purview Portal
Use the Export option to download the Exchange Online transport rule auditing report.

Option 2 Using Windows PowerShell

  • Connect to the Exchange Online PowerShell.
  • Windows PowerShell Windows PowerShell
     Connect-ExchangeOnline
  • Run the following command with the appropriate start date and end date to get the Exchange transport rule changes report using PowerShell.
  • Windows PowerShell Windows PowerShell
     Search-UnifiedAuditLog -StartDate <MM/DD/YYYY> -EndDate <MM/DD/YYYY> -Operations New-TransportRule, Set-TransportRule, Enable-TransportRule, Disable-TransportRule, Remove-TransportRule | Format-Table
  • The above execution retrieves audit log entries for transport rule operations, displaying the rule changed time, the user who made the changes, and other relevant audit data for each event.
Using Windows PowerShell
AdminDroid Solution
More than 150 reports are under the free edition.

AdminDroid Permission Required

Any user with report access assigned by Super Admin.

StepsUsing AdminDroid

ad
  • Login to the AdminDroid Office 365 reporter.
  • Navigate to the Transport Rule Changes report under Audit»Exchange»Mail Flow.
Using AdminDroid

This report provides a detailed log of mail flow rule changes in Exchange Online, including the type of operation performed, the user who performed the action, and the details of the modifications made.

chart-view
  • Use the in-built chart to obtain a visual summary that shows who created or modified mail flow rules in Exchange Online. This highlights the number of times a user modified the transport rules in the past ’n’ days.

Pinpoint unexpected modifications of transport rules!

Quickly investigate any unauthorized transport rule changes using AdminDroid, and rectify them to maintain proper email delivery.

Witness the report in action using the

Exchange OnlineEnhance Email Compliance by Managing Transport Rules in Exchange Online

Showing 1 of 5

How to set up mail flow rules in Office 365?

Mail flow rules (transport rules) provide you with the ability to implement various email delivery policies based on an extensive set of conditions, exceptions, and actions.

Create transport rules in Microsoft 365

To create a transport rule in Office 365 via the Exchange admin center (EAC), follow these steps:

  • Go to the Rules page under the Mail flow tab and navigate to + Add a rule»Create a new rule.
  • In the Set rule conditions window, specify the rule name, along with its conditions, actions, and any exceptions as needed. Click Next.
  • Configure additional options such as rule mode, severity, activation date, deactivation date, the state of multiple rule processing, and more. Click Next.
  • In the Review and finish page, check all the transport rule conditions and click the Finish button to save it.
  • After creating the rule using EAC, it is not enabled by default. To enable a transport rule, click on the respective mail flow rule in the Rules page and move the Enable or disable rule toggle to the 'enable' position.
    set-rule-conditions
    set-rule-settings

You can also use the “New-TransportRule” cmdlet in the Exchange Online PowerShell to create a new mail flow rule.

New-TransportRule -Name "<RuleName>" -SubjectContainsWords "<WordsInTheSubject>" -AddToRecipients “<ToAddress>” -Priority <PriorityValue>

Notes:

  • After you create a mail flow rule, it may take more than 30 minutes for the rule to activate and take effect on emails.
  • Ensure the priority value should be within the acceptable range. For example, if there are 9 existing rules, the valid priority values for a new rule (the 10th rule) are from 0 through 9.

Limitations of mail flow rules in Microsoft 365

Transport rules in Microsoft 365 have specific limitations that organizations need to consider.

  • Organizations can create a maximum of 300 transport rules to manage email delivery.
  • All regular expressions in each transport rule can be up to 8 KB in size. Additionally, the total size limit for all regular expressions in all transport rules combined is 20 KB only.
  • Exchange Online extracts text from attachments and scans only the first 1 MB of that text when processing rules.
  • Transport rules can add only up to 100 recipients to a message, any additional recipients will not be included. Additionally, transport rules cannot add a distribution list as a recipient.
  • If a rule is set to forward a message, it will process only if the message needs to be forwarded to fewer than 10 recipients. Messages will not be forwarded if they require forwarding to 10 or more recipients.
  • A message can be redirected only once across different organizations using different transport rules. Subsequent redirection attempts will result in the message being dropped with a Non-Delivery Report (NDR).

Best practices for configuring mail flow rules in Exchange Online

Here are some recommended practices for setting up transport rules in Exchange Online:

  • Check and test transport rules: Before applying a transport rule org-wide, configure it in the ‘Test without Policy Tips’ mode and properly test mail flow rules using the ‘Test-Message’ cmdlet.
  • Configure multiple rules when needed: When various actions are need to be processed sequentially on a same message, set up multiple transport rules.
  • Stop processing more rules: When multiple rules could affect the same message, opt to halt processing more rules.
  • Understand the DLP and transport rule interaction: As mail flow rules take precedence over DLP rules, avoid combining DLP rule actions with mail flow rule conditions. If a message is processed by a transport rule and then by a DLP policy, the transport rule won't apply again to the message modified by the DLP policy.
  • Use external files for keyword matching: Use PowerShell to load keywords or patterns from external text files when setting up mail flow rules to block messages based on specific expressions or words listed in those files.
  • Selective application in email conversations: Configure transport rules with exceptions to prevent applying the same action to every message in an email thread. For instance, if you want to add a disclaimer only to the first message in the thread, configure the rule with an exception to avoid repeating the action in subsequent messages.

How to view and export transport rules in Exchange Online?

To understand how email activities are managed within your Microsoft 365 organization, it is essential to review all the mail flow rules in Exchange Online. Additionally, exporting these rules as an XML file assists with rule backup, migration, documentation, and easy restoration. Refer to the following sections to learn how to view and export Exchange transport rules.

View mail flow rules in Exchange Online

To view all the transport rules using the Exchange admin center,

  • Navigate to Mail flow»Rules.
  • Here, you can see all the configured transport rules. You can click on the appropriate rule to view its detailed configuration.
view-rules

To retrieve all the transport rules using PowerShell, run the cmdlet below:

Get-TransportRule -ResultSize Unlimited
view-all-rules

Since the above cmdlet only shows limited configurations of Exchange Online mail flow rules, it won’t be sufficient to understand the rule's behavior. To understand each mail flow rule’s action, you can execute the following command with the rule name.

Get-TransportRule -Identity “<RuleName>” | Format-List Description
view-rule-description

Export mail flow rules using PowerShell

You can use the ‘Export-TransportRuleCollection’ cmdlet as described below to export the transport rules in Office 365 as an XML file.

Note: Replace <FilePath> with the appropriate file location to save the transport rule export.

$file = Export-TransportRuleCollection
[System.IO.File]::WriteAllBytes('<FilePath>', $file.FileData)

How to modify mail flow rules in Exchange Online?

After creating a transport rule in Exchange Online, there may be situations where you need to update or delete the rule. Therefore, proper management of mail flow rules in Exchange Online is essential to meet your organization's requirements.

To modify or delete the transport rules, refer to the following sections:

Update a transport rule in Exchange Online

By default, when you create a mail flow rule through the Exchange admin center (EAC), the rule is assigned with the lowest priority. To change the priority, disable, or update any other configuration, follow these steps:

  • Select the rule you want to update and click the Edit button.
  • Make the necessary changes on the Conditions and Settings page.
  • Click Save to apply the changes.
update-rule

To change a transport rule configuration using PowerShell, use the “Set-TransportRule” cmdlet.

Set-TransportRule -Identity “<RuleName>” -Priority <PriorityValue> -From “<SenderAddress>”

To enable or disable a Exchange Online transport rule to just stop or start the processing, use the “Enable-TransportRule” or “Disable-TransportRule” cmdlets as described here:

Enable-TransportRule -Identity “<RuleName>”
Disable-TransportRule -Identity “<RuleName>”

Note: After modifying the transport rule, it can take more than 30 minutes for the updated rule to take effect on emails in transit.

Delete a mail flow rule in Exchange Online

To delete an existing mail flow rule via the Exchange admin center, follow these simple steps:

  • Select the appropriate rule from the list of rules on the Rules page.
  • Click the Delete icon.
  • Hit the Confirm button.
remove-rule

To delete a transport rule using PowerShell, use the “Remove-TransportRule” cmdlet.

Remove-TransportRule -Identity <RuleName>

How to tell which transport rule was applied to an email message?

Identifying the mail flow rule applied to an email can help resolve several issues:

  • Rule priority conflicts: Determine if a different, higher-priority rule was applied instead of the intended one.
  • Rule corrections: Modify the rule if it is configured with incorrect conditions that are applied to a message.
  • User queries: Address user concerns about email delivery issues by identifying the rule that caused the email to be undelivered or redirected.

Trace messages to identify the mail flow rules applied

To determine which transport rule was applied to an email message in Exchange Online, you can use message trace in the Exchange Online admin center. Here’s a step-by-step procedure:

  • Navigate to Mail flow»Message trace»Start a trace.
  • Fill in the details such as sender or recipient addresses, time range, and other required metrics, then hit the Next button.
  • Click on the respective message flow record from the list of message trace logs.
  • Expand the Message events section to see whether the transport rule applied.
  • Expand the record name with the event named ‘Transport rule’ to see the applied rule’s name and ID.
new-message-trace
trace-message

Use the Exchange transport rule report to identify the applied rules

In addition to message tracing, you can use the inbuilt Exchange transport rule logs to monitor how the mail flow rules are applied within your organization.

  • Navigate to Reports»Mail flow»Exchange transport rule report.
  • Here, you can find the inbound and outbound messages that are matched with the conditions and processed by the transport rules.
  • Use the filtering options available to filter this mail flow rule audit log based on the days, severity level, and direction of the message.
transport-rule-report

Gain a comprehensive understanding of mail flow dynamics with AdminDroid's detailed transport rule usage report!

  • The Transport Rule Message report gives you the daily summary of the transport rule-based mail statistics inside your organization & from the external domains.
  • This report helps you to identify the number of incoming and outgoing emails affected by each mail flow rule in Exchange Online.
transport-rule-messages

Pro Tip: Set up an alert with specific thresholds to receive instant notifications when a mail flow rule is triggered more than a specified number of times in a day.

Are transport rules different from inbox rules in Exchange Online?

Yes, transport rules differ from inbox rules based on the email delivery status in Exchange Online.

Transport rules in Exchange Online

Transport rules are also known as mail flow rules because they apply a set of conditions to the emails which are in transit. These rules can be used to execute powerful actions like adding additional recipients, modifying the message properties, blocking the message, and more.

Scope of the rule: Transport rules apply at organization level and affect all emails that are in the transition stage.

Who can manage: Transport rules can be created and managed by users with the following admin privileges: Exchange Administrator, Global Administrator, and Compliance Administrator.

Example rule: Prepend the subject of the message with “Warning”, if the message sender is “Benjamin”.

Inbox rules in Exchange Online

The inbox rules (mailbox rules) are a set of conditions applied to a user’s mailbox to take actions such as moving a message to a specified folder, deleting a message, forwarding a message, etc., once the message is delivered.

Scope of the rule: Specifically applicable to individual mailboxes, where each rule applies to actions to be taken within their respective mailbox environments.

Who can manage: Mailbox rules can be created and applied by the respective individual users, delegated users, or administrators.

Example rule: If the body of the message contains the words ‘offer’ or ‘discount sale’, move the message to the ‘Junk Email’ folder.

Inbox rules managed by individual users may not provide strong security for the organization. Rules configured incorrectly by users can lead to data leaks and the deletion of important data.

To ensure robust security, it’s essential to monitor user-configured mailbox rules. To help with this, we’ve created a guide to view users' inbox rules in Exchange Online.

AdminDroid Exchange Online ReporterA seamless way to audit mail flow rule changes in Exchange Online!

AdminDroid’s Exchange Online auditing tool offers a seamless and efficient way to audit mail flow rule changes. With real-time transport rule audit logs, you can track every modification to your rules to ensure email protection.

Optimize mail flow management with AdminDroid’s cutting-edge features!

The Transport Rule Changes report provides a detailed log of modifications made to mail flow rules, including who made the changes, when they occurred, and more.

A Quick Summary

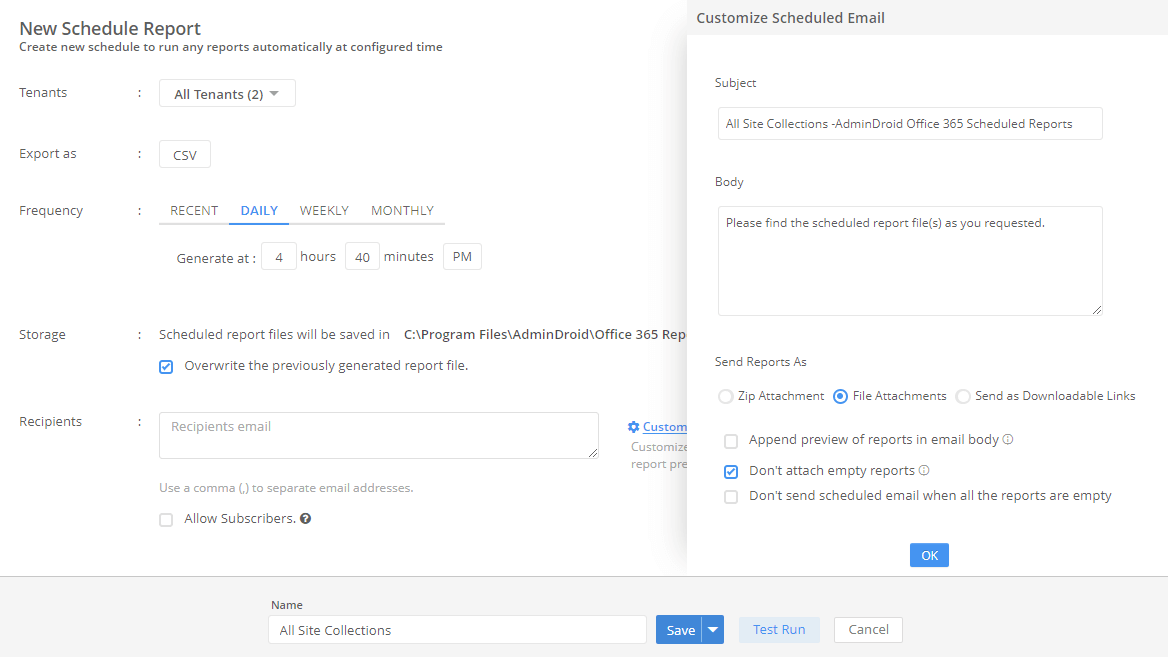
Automate Report Export on Transport Rule Audit

Automate the export of the Exchange transport rule audit report by scheduling it for daily, weekly, or monthly to ensure timely email delivery.

Stay Alerted to Transport Rule Changes

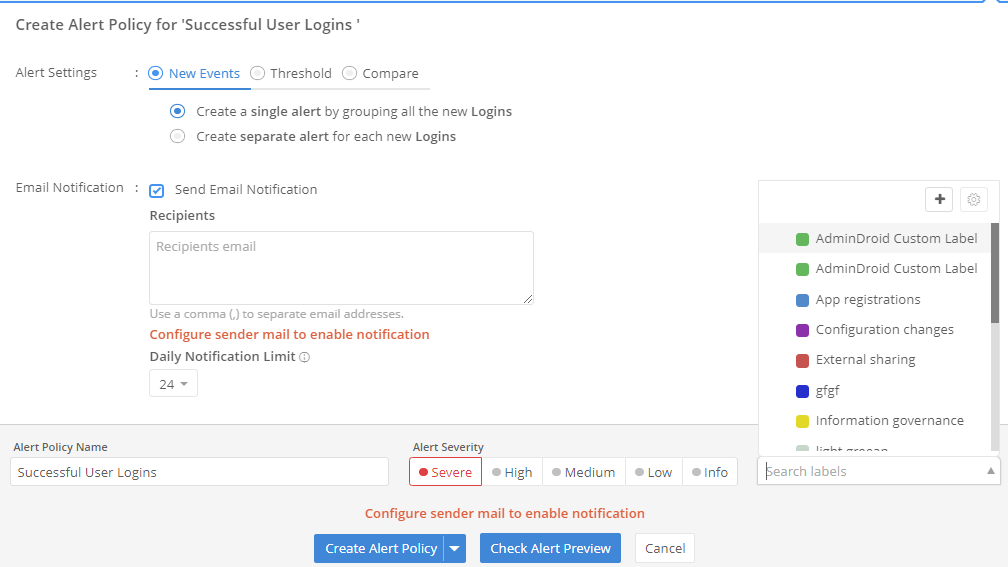
Set up AdminDroid to receive alerts on mail flow changes to promptly get notified whenever any admin adds a new rule or updates any existing rules.

List of Alerts for Mail Flow Policy Events

Maintain robust email security and compliance by exploring the mail flow alerts generated in Microsoft 365 when an alert policy matches the mail flow event.

Audit Mail Flow Connector Configurations

Frequently audit connector configurations in Exchange Online to monitor changes influencing the email flow both to and from your Office 365 organization.

Configure Transport Rules with Mail Protection Analysis

Use Exchange Online mail protection reports to identify spam, phishing, and malware, and then set up transport rules to block such emails based on subject, sender address, content, etc.

Delegated Access to Exchange Online Insights

Configure a user as an Email and Exchange Administrator using the in-built delegation role in AdminDroid to grant access to mail flow and other EXO insights.

Overall, AdminDroid’s Exchange Online management tool helps export the mail flow rule changes report to:

  • Address email delivery issues by analyzing the transport rule modifications.
  • Enhance email security by identifying unauthorized rule alterations.
  • Optimize email flow management to ensure seamless communication among Exchange Online users.

Kickstart Your Journey with AdminDroid

Your Microsoft 365 Companion with Enormous Reporting Capabilities!

Common Errors and Resolution Steps While Auditing & Managing Exchange Online Transport Rules

The following are the most common errors and troubleshooting hints when dealing with Exchange mail flow rules.

Error: Failed to update the transport rule. Error executing cmdlet: ExDE496A|Microsoft.Exchange.MessagingPolicies.InvalidPriorityException|The specified rule priority is invalid. Use a value between '0' (highest priority), and '4' (lowest priority). Exception of type 'Microsoft.Exchange.Management.PSDirectInvoke.DirectInvokeCmdletExecutionException' was thrown.

The error occurs because the specified rule priority is not within the acceptable range of 0 (highest priority) to 4 (lowest priority) for Exchange transport rules.

Troubleshooting hint :Verify and adjust the rule priority to a value between the highest and lowest priority when creating or modifying transport rules in Exchange.

Error: Failed to create the new transport rule. Error executing cmdlet: |System.ArgumentException|A rule with this name already exists. (Parameter 'Name') Exception of type 'Microsoft.Exchange.Management.PSDirectInvoke.DirectInvokeCmdletExecutionException' was thrown.

The error occurs because a transport rule with the same name already exists.

Troubleshooting hint :Use a unique name for the new transport rule to avoid conflicts with existing rules.

Error: Write-ErrorMessage : Ex6F9304|Microsoft.Exchange.Configuration.Tasks.ManagementObjectNotFoundException|The operation couldn't be performed because object 'X' couldn't be found on 'BM1P287A01DC003.INDP287A001.PROD.OUTLOOK.COM'.

The error occurs because the transport rule with the specified identity does not exist.

Troubleshooting hint :Verify the exact name of the transport rule using the following command before attempting to retrieve or modify it.

Get-TransportRule –ResultSize Unlimited

Error: Test-Message : Parameter set cannot be resolved using the specified named parameters.

The error occurs because the parameters provided to the ‘Test-Message’ cmdlet do not match the defined parameter sets.

Troubleshooting hint :Verify you have provided the parameters ‘Recipients’, ‘SendReportTo’, and ‘TransportRules’ as these are required to test a transport rule.

Error: PrintResultAndCheckForNextPage : Microsoft.Exchange.Data.Common.LocalizedException: No sender was specified, and the message's From header doesn't contain a valid SMTP address.

The error occurs when the ‘sender’ parameter is missing, or the message (.eml file) does not have a valid sender specified in the From header, which is required for processing.

Troubleshooting hint :Ensure that the email message (.eml file) includes a valid SMTP address in the From header before processing it with the ‘Test-Message’ cmdlet. Otherwise, specify the sender address using the ‘Sender’ parameter.