How to create a Microsoft 365 shared mailbox and add members?
Setting up a Microsoft 365 shared mailbox and managing its members is a straightforward process that enhances collaboration within organizations. Create a Microsoft 365 shared mailbox and add members by following these steps,
Create a Shared Mailbox
- Login to the Exchange admin center.
- Navigate to Mailboxes resided under Recipients.
- Choose "Add a Shared mailbox" and provide basic details like display name and email address.
- Click Create to create a shared mailbox in Exchange Online.
Add Members and Delegate Access to a Shared Mailbox
- You can add members by using the Add users to this mailbox option.
- Alternatively, you can also click on the specific shared mailbox from the list of all mailboxes to add users.
- Now, add users by configuring the delegation like ‘Send as’ or ‘Read and manage (full access)’. These delegations allow users to access a shared mailbox with delegated permissions.
Note: Applied delegation may take a while to take effect.
Simplify shared mailbox management and monitoring in Exchange Online!
Where Microsoft 365 falls short, AdminDroid steps up! Seamlessly monitor and manage shared mailboxes with our enhanced reporting capabilities.
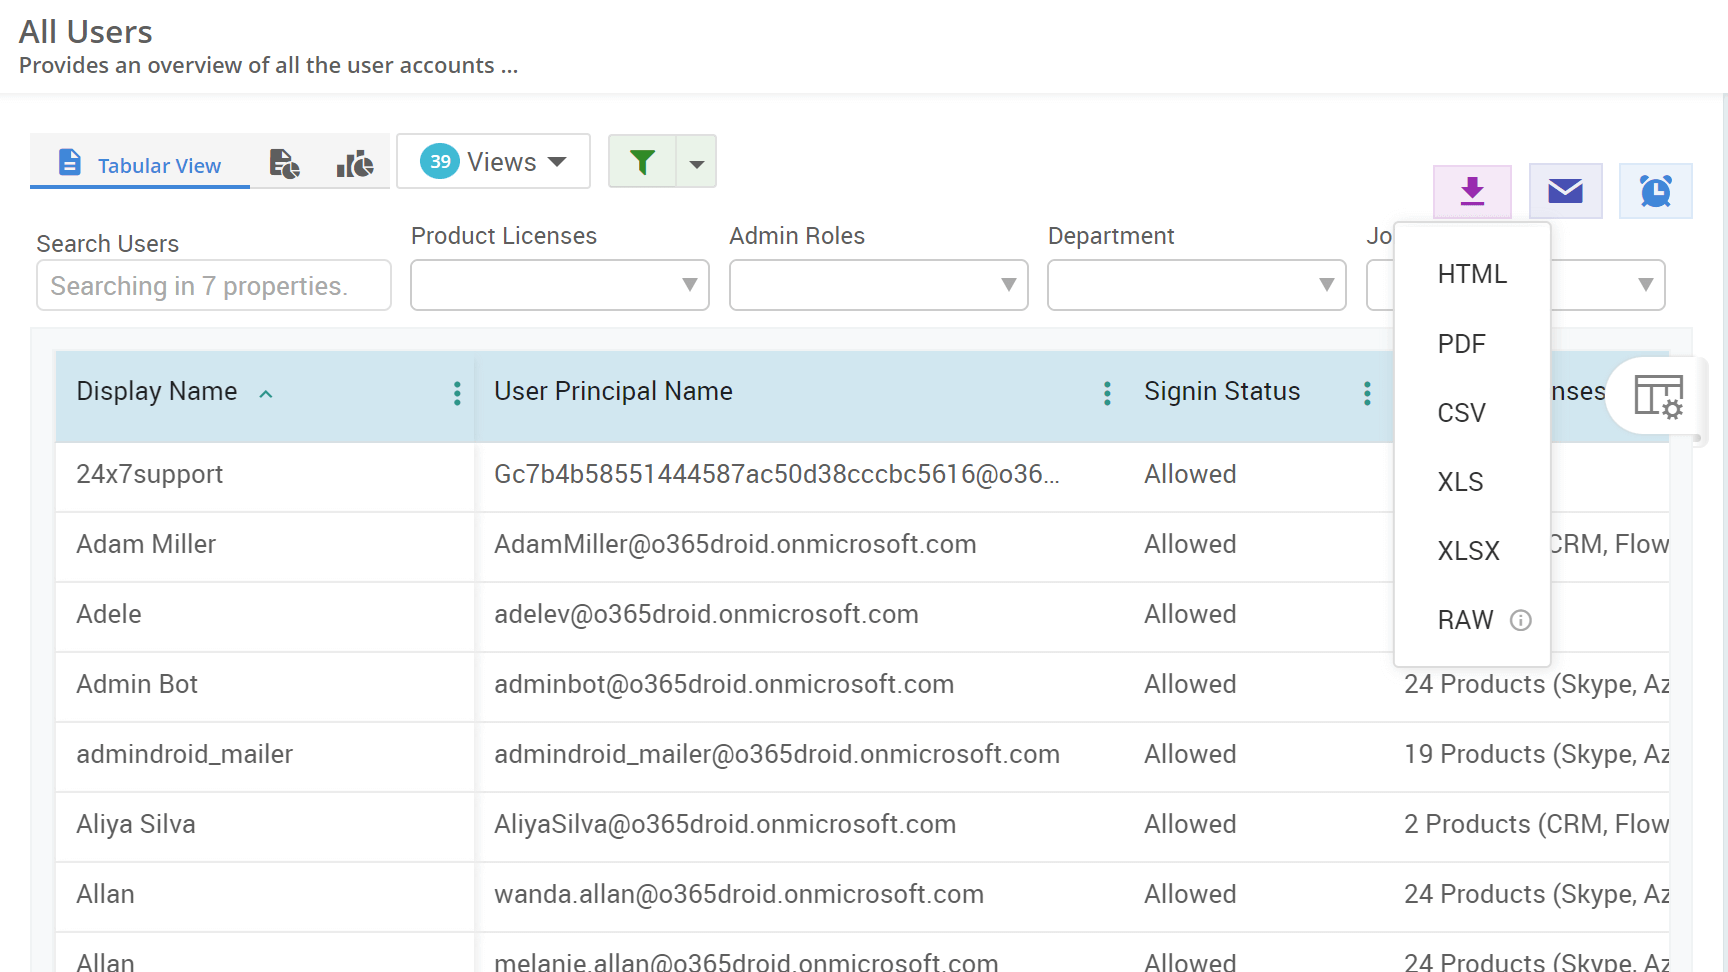
- Navigate to the Recently Created Shared Mailboxes report residing under .
- This report contains the list of recently created shared mailboxes with the mailbox creation time along with the shared mailbox size quota.
PRO TIP: To explore any report in AdminDroid, hit 'Ctrl + Shift + F' and type fewer related keywords about the required report.